That’s right – this week is all about trying your hand at composting. While composting might feel a bit overwhelming for some of you, the benefits are over the top. You’ll love running your fingers through your finished product and watching how it will improve the health of your plants and trees. And given the new requirements within Vermont’s Universal Recycling Law (Act 148) there’s no time like the present to get started. To guide you along the way, I thought I’d share my great aunt Julia’s composting recipe guaranteed to make your plants and trees dance with joy. Now if I could just find my apron. Begin by deciding where you want to locate your composting bin. Consider a location that isn’t too close to where you like to spend time in the warmer months or too close to your property line. Unlike the smells that permeate from your kitchen when baking a chocolate cake, composting aromas may occasionally bring an unhappy neighbor to your doorstep. Once you have your location, it’s time to determine what you’ll use to hold and protect your composting materials while baking. You can easily make your own compost bin with a circle of chicken wire that is three feet high, three feet wide and three feet deep. Or you can get a bit fancier and purchase an already constructed bin. Whatever you choose to do, make sure your bin can hold a cubic yard of material, is easily accessible to shovel out the finished product, will hold up to Vermont’s winter elements, is difficult for dogs and wildlife to raid and has good air circulation. No air circulation means nasty odors and no compost. Now it’s time to begin collecting your ingredients and adding them to your bin. To make delicious compost, you need our old friends, carbon, nitrogen, air and a little water. Dry leaves, hay, straw and shredded newspaper are excellent carbon sources.
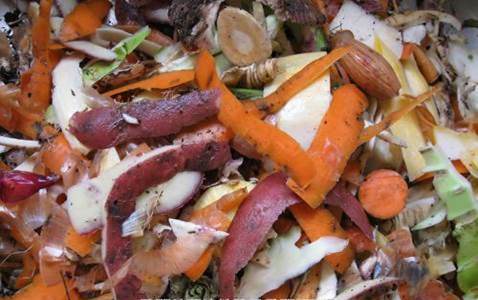 Wet grass clippings, weeds, veggie and fruit scraps, coffee grounds, egg shells and tea bags are your best sources of nitrogen. Dump a large bucket of your dry ingredients (leaves, straw, hay, etc.) into the bin. Then in the center of the pile, add your wet ingredients (veggie scraps, grass clippings, weeds, etc.). Three parts carbon to one part nitrogen. Continue to add layers of carbon and nitrogen. Make sure to add a bit of water so the pile is a bit damp. It’s time to chill. Set up your chaise lounge, a good book, your transistor radio and watch it bake. Oh dear, my mistake. That last instruction was a no-no. Composting actually takes more than a few days. You will want to visit your compost bin once a week to check out the baking process. As decomposition occurs, you should be able to see smoke and feel the heat in the center of the bin.
 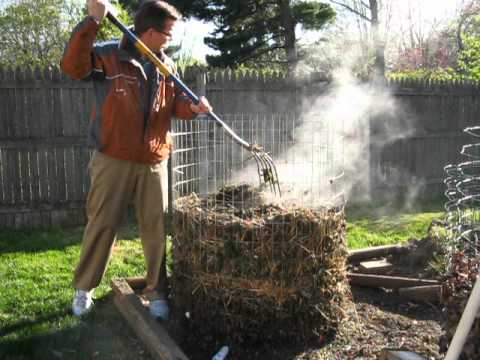 When your compost in the center of the bin is ready, it will have a dark brown color and an earthy smell. Use a shovel and turn it to the outer perimeter of your bin while you continue to cook more in the inner circle. And voila. Gorgeous compost which you can use as mulch around trees and can be added to garden seedlings and houseplants.
  We look forward to seeing your favorite composting photos. See you on the PATH ahead.